In this tutorial we will create a simple, framed mirror with 3ds Max. We will then create the V-Ray materials for this mirror, and finally we will render out a simple 3d scene, showing reflections in the mirror.
I am assuming that you have a basic knowledge of 3ds Max, so I won't explain absolutely everything, but it should still be easy enough for beginners to figure out what is going on in this tutorial.
Step 1
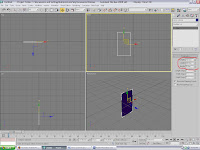
Creating the mirror surface. Create a box in the front viewport that is approximately 70cm x 40cm x 0.4cm (Note, it doesn't have to be exactly this size and if you would prefer to work in inches or other units, that's also okay, I'm just used to working in cm.)
Step 2
Create the actual V-Ray mirror material. Open up the material editor and change the first material in the material editor to a VrayMtl.
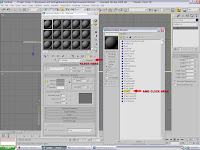
Rename this material "mirror surface" and make it totally reflective, by making the reflect color swatch totally white as in the screenshot below: (White is totally reflective, black is not reflective at all, so the lighter the color, the more reflective it is)
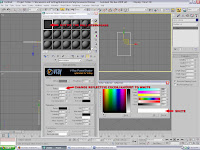
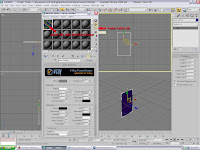
Notice that the preview ball in the material editor "disappears" - (it doesn't actually disappear, it just looks like that because it is reflecting the grey background surrounding the ball). Let's change the background in the material editor to something more visible - a checker background, so we can actually see the material preview reflecting something.
Step 3
Assign the "mirror surface" material to the mirror object (Drag and drop)
Step 4
Add a camera to the scene so it is positioned more or less like mine in screenshot below:
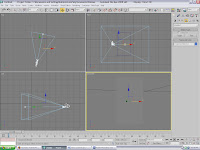
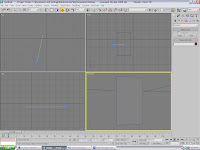
Because the diffuse color of the mirror surface material is grey, it is very difficult to see it against the 3ds Max viewport background, so I change the camera view to "Smooth + Highlights" with "edged faces", by pushing F4 on the keyboard
Step 5
Lets add a VRayLight. It should be a plane light, 80cm x 80 cm big, and set the light's multiplier to 5
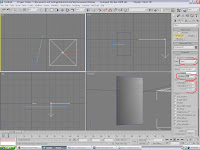
Now angle the light so that it is facing down and towards the mirror surface as in my screenshot below:
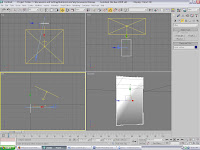
Step 6
Create a ground plane for our scene. For this I will create a VRayPlane. (this is an infinite plane, represented by an icon in the viewport)
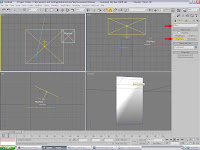
Move the VRayPlane so that it is below the mirror.
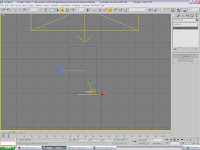
Step 7
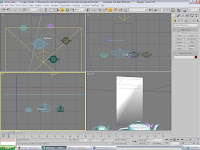
Let's create some random objects for the mirror to reflect - I just created some teapots, but obviously you can use anything. Position the teapots so that they are in front of the mirror and resting on the VrayPlane, as in the screenshot below:
Step 8
Now we'll set up the GI(Global Illumination) and do a test render. Press F10 on the keyboard, turn VRay::Indirect illumination (GI) on. I've also turned on "Show calc. phase", because it's always fun to see what the computer is doing.
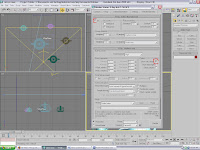
Press Render
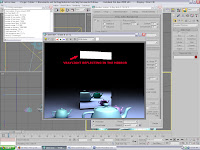
Hopefully your scene looks something like mine, you might have to rearrange your teapots/objects so that they are reflected by the mirror. Notice the VRayLight is reflected in the mirror. Move the VrayLight up so that it is no longer reflected by the mirror
Step 9
Creating a frame for the mirror. Make a rectangular spline the same size as the mirror. Rename this rectangle "Frame":
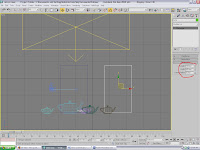
Now create a decorative profile for the frame and add a "Bevel profile" modifier to the frame:
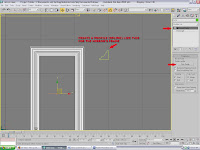
Adjust and position the frame so that it fits the mirror:
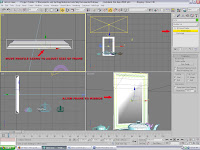
Step 10:
Create a gold colored VRay material for the frame. Make it in exactly the same way you made the "mirror surface" material, but change the reflection color to a goldish color.
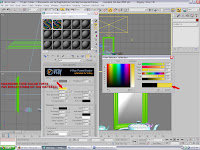
Make the gold materials' reflections more blurry by changing the reflection glossiness value. A value of 1.0 means perfect mirror-like reflection; lower values produce blurry or glossy reflections. Use the Subdivs parameter below to control the quality of glossy reflections:
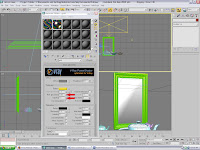
Step 11
Assign the gold material to the frame, and Render the scene again.
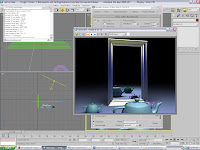
That's it, you're done! Congratulations on finishing this tutorial, and as always, feel free to experiment by putting different backgrounds into the scene, playing with settings and so forth. Experimenting is often one of the best ways to learn - have fun!
JG3D has moved and is now at http://www.jg3d.net/
No comments:
Post a Comment